Android | Uncrackable Lv 2
Frida Android Rooting Detection Bypass, Uncrackable2
이번에 학습해볼 내용의 APK 파일은 OWASP에서 배포한 UnCrackable-Level2.apk 파일이다.
의도적으로 취약하게 만든 파일로 진단 공부할 때 용이하게 이용된다.
C:\Users\users>adb install UnCrackable-Level2.apk
Performing Streamed Install
Success
루팅 탐지 우회
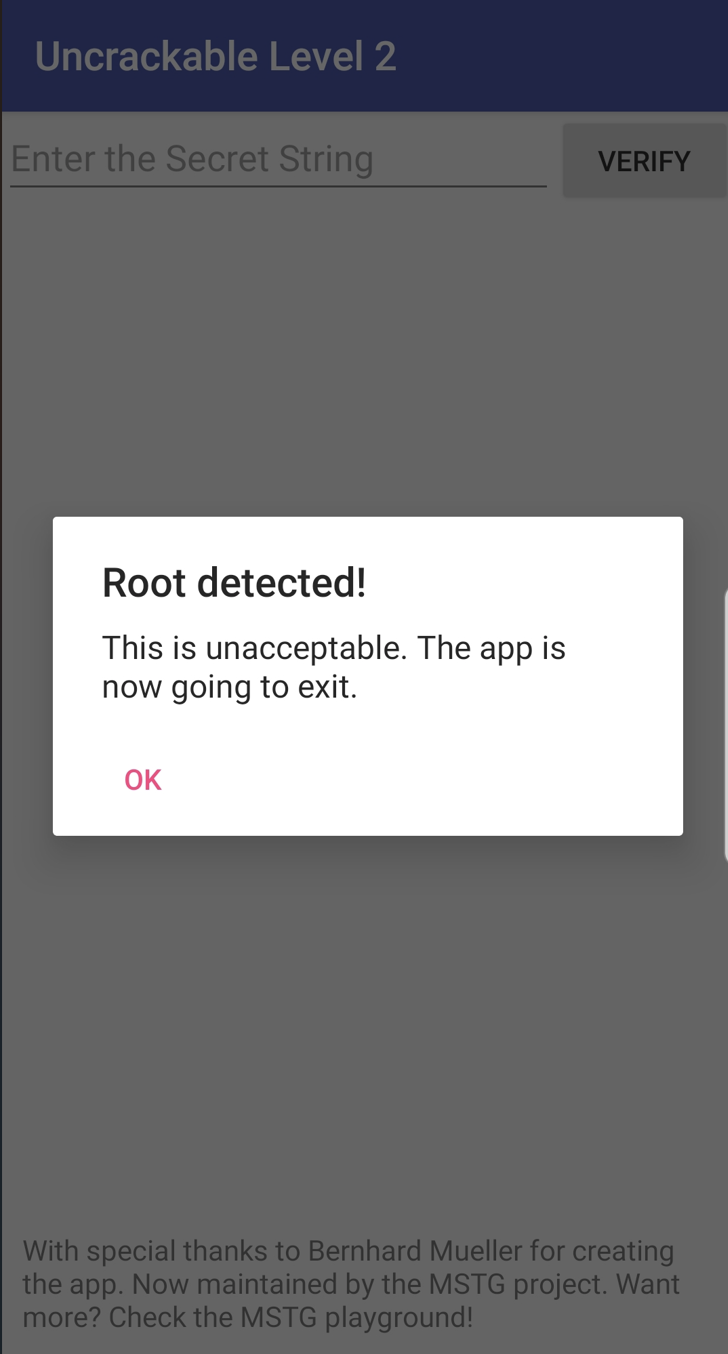
Uncrackable1과 같이 해당 파일을 실행시키면 아래와 같이 Root detected! 다이얼로그가 나오고 OK 버튼을 누르면 프로세스가 종료되는 것을 알 수 있다.
Frida를 이용하려면 진단할 APK 파일이 어떤 클래스에서 탐지를 하는지 파악해야 하기에 이전에 설치한 jadx를 이용해 디컴파일을 한다.
루팅 탐지 코드 분석
소스코드 > sg.vantagepoint > uncrackable2 > MainActivity를 보면 onCreate함수 내에서 b class에서 저번과 같은 방식으로 루팅을 감지하는 것을 알 수 있습니다.
@Override // android.app.Activity
protected void onCreate(Bundle bundle) {
    if (b.a() || b.b() || b.c()) {
        a("Root detected!");
    }
    if (a.a(getApplicationContext())) {
        a("App is debuggable!");
    }
    // ...
    super.onCreate(bundle);
    setContentView(R.layout.activity_main);
}
- b.a()
public static boolean a() {
    for (String str : System.getenv("PATH").split(":")) {
        if (new File(str, "su").exists()) {
            return true;
        }
    }
    return false;
}
환경변수 PATH를 가져오는데 루팅하면 su라는 바이너리 파일이 생성되기에 PATH에 su가 있으면 루팅되어 있음을 감지한다.
- b.b()
public static boolean b() {
    String str = Build.TAGS;
    return str != null && str.contains("test-keys");
}
Bulid.TAGS의 값을 가져오는데 기본 값으로는 release-keys로 되어 있지만 루팅하게 되면 해당 값이 test-keys로 변경되기에 이를 감지하는 것이다.
- b.c()
public static boolean c() {
    for (String str : new String[]{"/system/app/Superuser.apk", "/system/xbin/daemonsu", "/system/etc/init.d/99SuperSUDaemon", "/system/bin/.ext/.su", "/system/etc/.has_su_daemon", "/system/etc/.installed_su_daemon", "/dev/com.koushikdutta.superuser.daemon/"}) {
        if (new File(str).exists()) {
            return true;
        }
    }
    return false;
}
str은 루팅 시 사용되는 apk와 파일을 기반으로 루팅을 감지하는 것이다.
b 객체의 a(), b(), c() 셋 중 하나라도 해당된다면 위 처럼 루팅을 감지하는 것으로 되어 있습니다.
if (c.a() || c.b() || c.c()) {
    a("Root detected!");
}

private void a(String str) {
    AlertDialog create = new AlertDialog.Builder(this).create();
    create.setTitle(str);
    create.setMessage("This is unacceptable. The app is now going to exit.");
    create.setButton(-3, "OK", new DialogInterface.OnClickListener() { // from class: sg.vantagepoint.uncrackable1.MainActivity.1
        @Override // android.content.DialogInterface.OnClickListener
        public void onClick(DialogInterface dialogInterface, int i) {
            System.exit(0);
        }
    });
    create.setCancelable(false);
    create.show();
}
a()함수를 보면 커스텀 다이얼로그를 출력하게 되는데 OK 버튼을 누르면 System.exit(0);을 통해 프로그램을 종료시키는 것을 알 수 있다.
저번과 동일한 방법을 통해 OK버튼을 누를 시 System.exit(0);가 실행되지 않은 방식으로 후킹을 진행하겠습니다.
Hooking
- exit() hook
console.log("[+] System Hooking");
Java.perform(function() {
    var hook = Java.use("java.lang.System");
    hook.exit.implementation = function () {
        console.log("[+] Hooking System exit");
    }
});
Verify
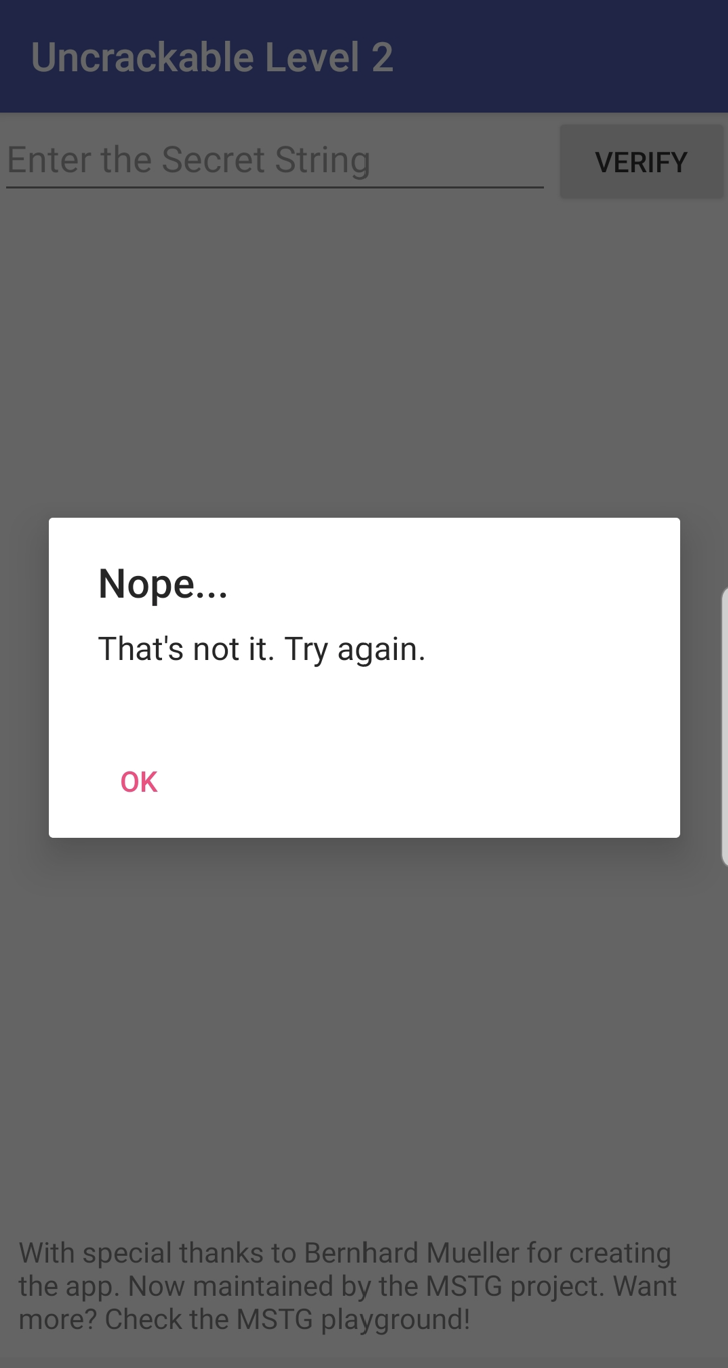
이후 OK 버튼을 클릭하면 꺼지지 않고 대기 중인 것을 알 수 있다. 그리고 EditText가 보이는 데 VERIFY 버튼을 클릭하면 아래처럼 다이얼로그가 나온다.
Verify 코드 분석
public class CodeCheck {
    private native boolean bar(byte[] bArr);

    public boolean a(String str) {
        return bar(str.getBytes());
    }
}

private CodeCheck m;

public void verify(View view) {
    String str;
    String obj = ((EditText) findViewById(R.id.edit_text)).getText().toString();
    AlertDialog create = new AlertDialog.Builder(this).create();
    if (this.m.a(obj)) {
        create.setTitle("Success!");
        str = "This is the correct secret.";
    } else {
        create.setTitle("Nope...");
        str = "That's not it. Try again.";
    }
    create.setMessage(str);
    create.setButton(-3, "OK", new DialogInterface.OnClickListener() { // from class: sg.vantagepoint.uncrackable2.MainActivity.3
        @Override // android.content.DialogInterface.OnClickListener
        public void onClick(DialogInterface dialogInterface, int i) {
            dialogInterface.dismiss();
        }
    });
    create.show();
}
this.m.a(obj)가 True면 넘어갈 수 있을 것으로 보인다. obj는 우리가 EditText에 입력한 값이며 CodeCheck의 객체로 입력 값을 byte로 형변환하게 된다.
입력한 값을 Codecheck의 a메소드 리턴값이 True면 성공인 것으로 보이며, 입력 값 -> getBytes() -> native bar
- native : 자바가 아닌 언어(보통 C나 C++)로 구현한 후 자바에서 사용하려고 할 때 이용하는 키워드이다. 자바로 구현하기 까다로운 것을 다른 언어로 구현해서, 자바에서 사용하기 위한 방법이다. 구현할때 JNI(Java Native Interface)를 사용한다.
Oncreate에 새로운 함수가 생겼는데
new AsyncTask<Void, String, String>() { // from class: sg.vantagepoint.uncrackable2.MainActivity.2
    /* JADX INFO: Access modifiers changed from: protected */
    @Override // android.os.AsyncTask
    /* renamed from: a */
    public String doInBackground(Void... voidArr) {
        while (!Debug.isDebuggerConnected()) {
            SystemClock.sleep(100L);
        }
        return null;
    }

    /* JADX INFO: Access modifiers changed from: protected */
    @Override // android.os.AsyncTask
    /* renamed from: a */
    public void onPostExecute(String str) {
        MainActivity.this.a("Debugger detected!");
    }
}.execute(null, null, null);
비동기 작업으로 별도의 멀티스레드를 통해 디버깅을 감지하는 함수로 보인다.
static {
    System.loadLibrary("foo");
}
또한, 외부 라이브러리 foo를 참조하기에 해당 라이브러리를 분석해봐야 할 것으로 보인다. apk 확장자를 zip로 변경하고 압축해제하면 lib 파일을 뽑을 수 있다.
Hooking
// Secret String.js
console.log("[+] Secret String");
Java.perform(function() {
    var secret = Java.use("sg.vantagepoint.a.a");
    secret.a.implementation = function(arg1, arg2) {
        console.log("[+] Hooking sg.vatagepoint.a.a");
        var retval = this.a(arg1, arg2);
        var secret_str = "";

        for (var i = 0; i < retval.length; i++) {
            secret_str += String.fromCharCode(retval[i]);
        }
        console.log("[+] Secret String :", secret_str);
        return retval;
    }
});
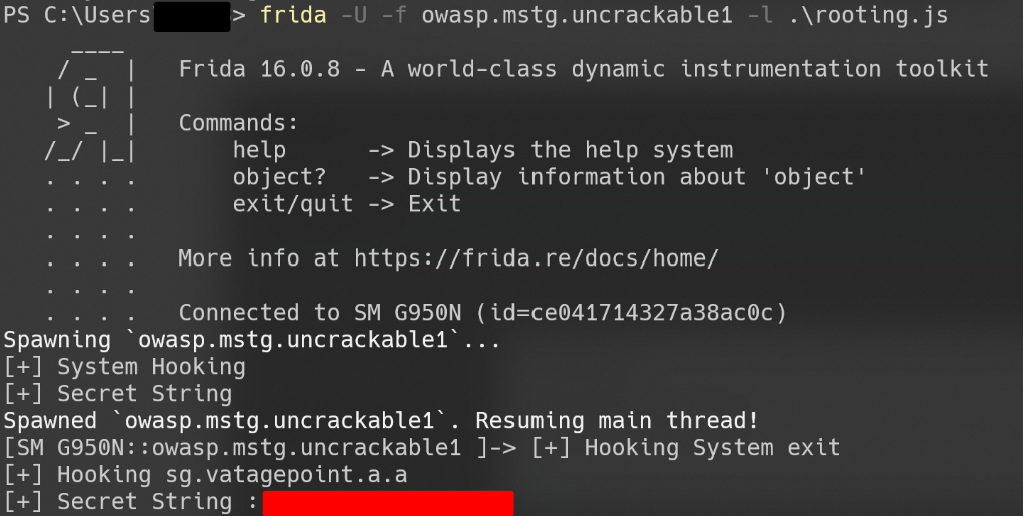
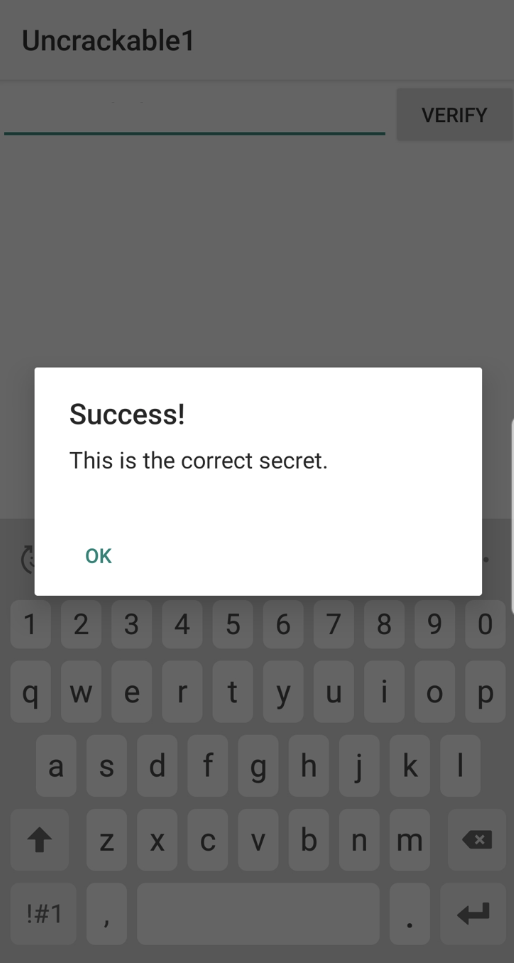
Secret String을 단말기에서 EditText에 넣고 Verify 버튼을 누르면 성공했다는 다이얼로그가 출력된다.